81d319c061936418d8359e3f21005d295f84b1bb
gpu-jupyter
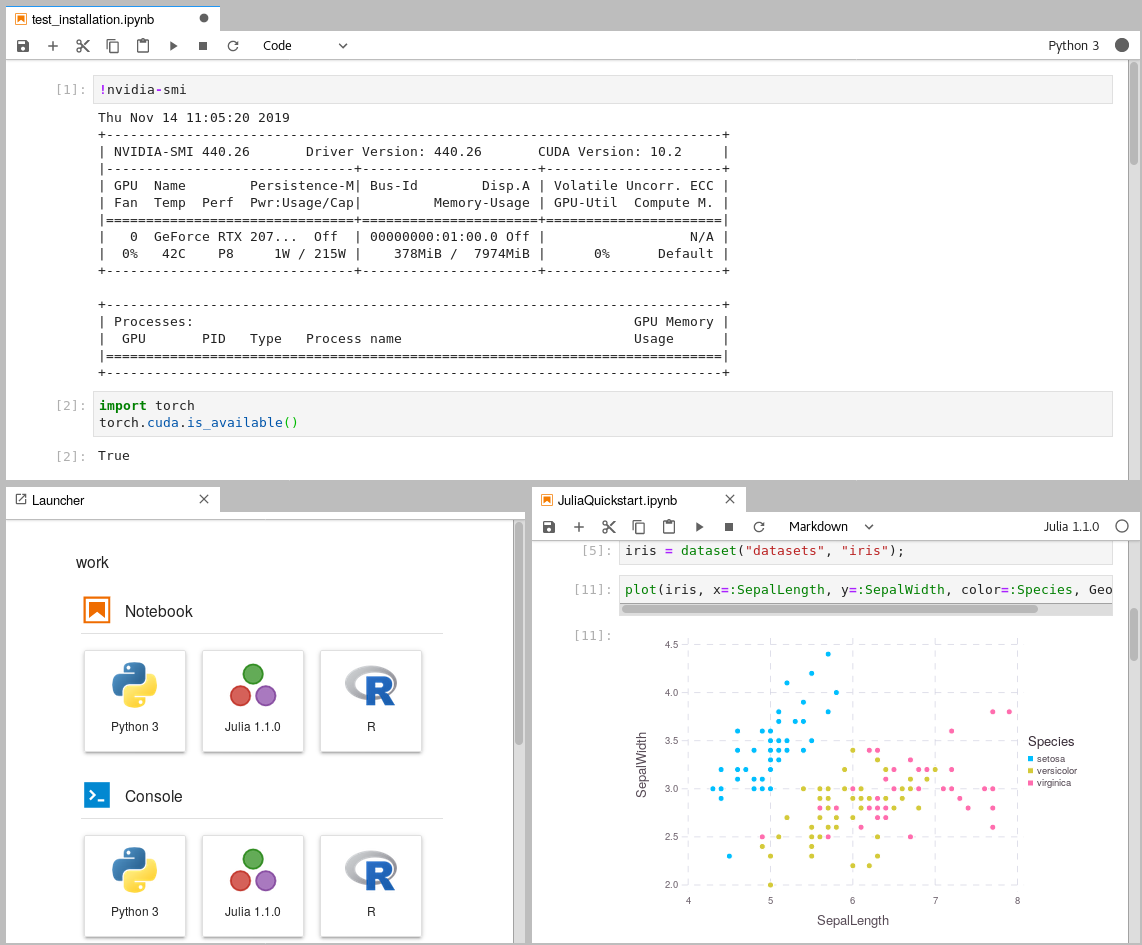
Leverage the power of Jupyter and use your NVIDEA GPU and use Tensorflow and Pytorch in collaborative notebooks.
Contents
Requirements
-
Install Docker version 1.10.0+
-
Install Docker Compose version 1.6.0+
-
Get access to use your GPU via the CUDA drivers, see this blog-post
-
Clone this repository
git clone https://github.com/iot-salzburg/gpu-jupyter.git
cd gpu-jupyter
Quickstart
As soon as you have access to your GPU locally (it can be tested via a Tensorflow or PyTorch), you can run these commands to start the jupyter notebook via docker-compose:
./start-local.sh
This will run jupyter on the default port localhost:8888. The general usage is:
./start-local.sh -p [port] # port must be an integer with 4 or more digits.
In order to stop the local deployment, run:
./stop-local.sh
Deployment in the Docker Swarm
Description
Languages
Jupyter Notebook
93.4%
Shell
3.2%
Dockerfile
2.7%
Python
0.7%
